

- Build a Ubuntu 16.04 VM
- Install Anaconda
- Install PostgreSQL
- Install PostGIS
- Create a Conda Virtual Environment
- Install GIS packages to you Conda Environment
- Profit
Build a Ubuntu 16.04 LTS VM
For this, I have a Ubuntu 16.04 LTS Server that I build in Azure. You may have already have an environment, or are using some other virtualization technology, so I won’t go into great detail here, but will cover the basics of what I did. Since GIS typically required a UI for viewing maps, charts, etc., I installed a desktop on the VM and enabled remote access. Here, I installed xfce4 as the GUI, and then installed xrdp so that I can RDP into the VM from my Windows laptop.
Install Python Anaconda
While there are a great Python Distros out there, the one I have been using lately is Anaconda. I has many scientific and statistical packages out of the box, as well as a huge repository of easily installable packages via conda. On top of that, Esri has released their ArcGIS API for Python in conda, which I’ll talk more about later in the post.
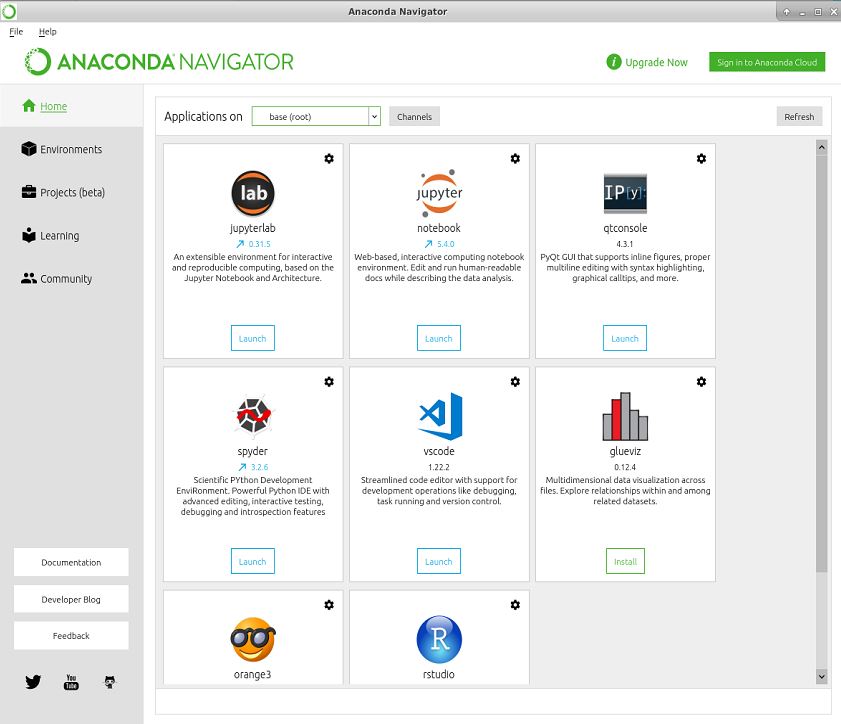
To install, you can follow these instructions at Anaconda’s site. Just take all the defaults. Don’t worry about installing VScode. As of this writing, I installed Anaconda 5.1.0, with Python 3.6.4. After you install, you can fire up the “Anaconda Navigator” by typing
~$ anaconda-navigator
This will launch the navigator UI, which has lots of great management tools. I wont belabor it, but check it out (screenshot below).
Install PostgreSQL
You may already have a database, but if you don’t lets set one up locally.
~$ sudo add-apt-repository "deb http://apt.postgresql.org/pub/repos/apt/ xenial-pgdg main"

~$ wget --quiet -O - https://www.postgresql.org/media/keys/ACCC4CF8.asc | sudo apt-key add -

~$ sudo apt update

~$ sudo apt install postgresql-9.6 postgresql-contrib-9.6
You can then check the version installed.
~$ psql --version

psql (PostgreSQL) 9.6.8
Now, create a database user called “gisadm” and choose a password when prompted. Then create a database named “gisdata”
~$ sudo -u postgres createuser -P gisadm

~$ sudo -u postgres createdb -O gisadm gisdata
Check to make sure DB is running
~$ psql -h localhost -U gisadm gisdata
You should see output with gisdata=> at the bottom. Hit \q to quit psql.
Install PostGIS
PostGIS is a software add-on to PostgreSQL that adds robust geospatial capabilities to Postgres. Lets install it version 2.3.
~$ sudo apt install postgis postgresql-9.6-postgis-2.3
After it installed, add PostGIS to the gisdata database.
~$ sudo -u postgres psql -c "CREATE EXTENSION postgis; CREATE EXTENSION postgis_topology;" gisdata
Connect to the database using psql. Create a table and add some data.
~$ psql gisdata gisadm

gisdata=>

gisdata=> create table testpoints (id serial, name varchar, geom geometry(Point, 4326));

CREATE TABLE  #this is output
Add some points. Here is grabbed the location of Central Park.
gisdata=> insert into testpoints(name, geog) values ('Central Park', ST_GeogFromText('SRID=4326;POINT(-73.9654 40.7829)'));

INSERT 0 1
We officially have a GIS database. Next, lets set up our visualization and analysis environment.
Create A Conda Virtual Environment
Conda ships with Anaconda, so no install necessary. However, I did upgrade the conda version from 4.4.10 to 4.5.1, but this is not critical.
~$ conda update -n base conda
Create a new python virtual environment called “gisdev”
~$ conda create -n gisdev
Active the environment. This will automatically place you in the environment.
~$ conda activate gisdev
Install GIS packages to you Conda Environment
Install packages. Let’s start by installing the connector package to access PostgreSQL psycopg2. Then install the ArcGIS API for Python, which a great package for interacting with your ArcGIS Online and Portal sites. It will also install useful packages like jupyter in the environment, which we will use to create a Jupyter Notebook. Also installed is the GDAL and geopandas packages, which is an awesome package for working with spatial data.
(gisdev) gisadm@ubuntu:~$ conda install -c anaconda psycopg2

(gisdev) gisadm@ubuntu:~$ conda install -c esri arcgis

(gisdev) gisadm@ubuntu:~$ conda install -c -c conda-forge gdal

(gisdev) gisadm@ubuntu:~$ conda install -c conda-forge geopandas
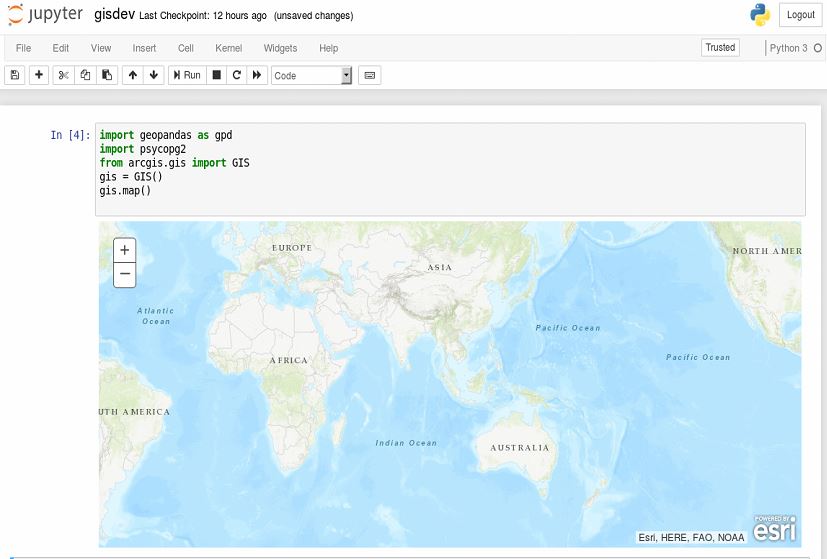
Once those are installed, let validate that everything went ok by creating a Jupyter notebook and importing modules.
(gisdev) gisadm@ubuntu:~$ jupyter notebook
This will launch a window/tab in your default browser. Click the New button in the upper right corner, and choose Notebook > Python 3. This will launch a new tab, with a clean Python 3 kernel running against your “gisdev” environment. Import the relevant modules to ensure that they were installed correctly (see image below).
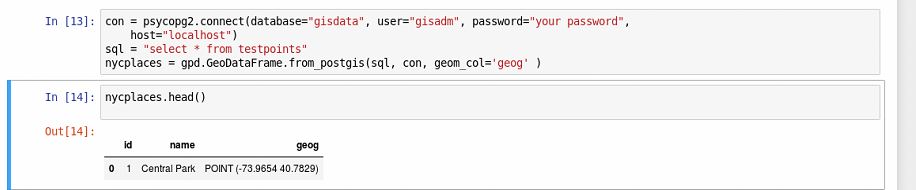
Now, lets load our testpoints dataset.
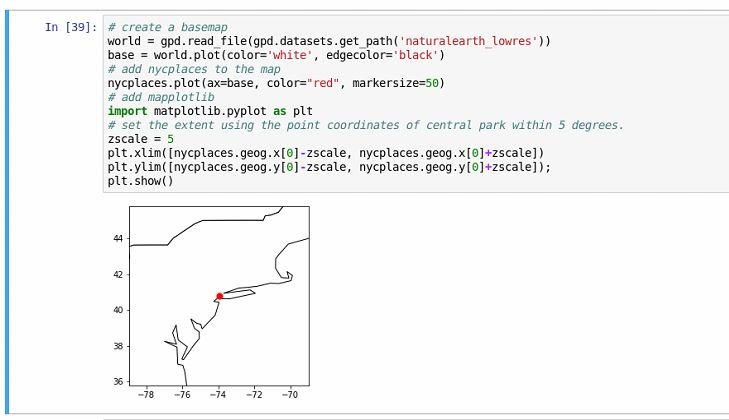
Plot testpoints using GeoPandas and Matplotlib.
Summary
We are up and running now! Since the purpose of this post is to get an environment set up, I will end here. I will post again on how to add GeoPandas data to the Esri map in our Jupyter Notebook.